Advantages and Disadvantages of Blown Insulation Installation
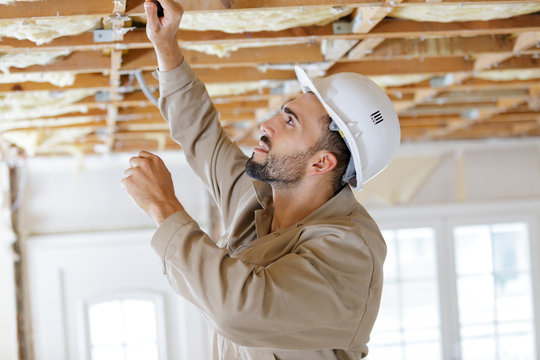
Blown Insulation Installation involves installing a lightweight, fluffy material into a building’s shell. It is typically made from recycled materials and treated with boric acid. It is packaged in bags or bales and installed with a mechanical blower/hopper. This machine churns the material and mixes it with air, sending fluffy insulation through the home. This process is highly technical and requires the expertise of a qualified contractor.

Another advantage of blown insulation is its speed and efficiency. Attic Insulation is quick and easy and can be used in more home areas. Additionally, blown insulation comes in a variety of R-values and depths. Depending on your goals and budget, you can choose the type of blown insulation that will work best for your home.
Blown in insulation can be installed without tearing up any existing surfaces. Depending on the size of your attic, blown-in insulation can be completed in as little as a few hours. This makes it a good option for people who need to save money quickly but don’t want contractors to spend hours in their homes. Blown insulation is also easier to retrofit into an existing home than other types of insulation.
Blown insulation can be installed in existing walls as well as new ones. Holes for this purpose are usually bored from the house’s exterior and closed after the installation is complete. The insulation is blown into the wall cavities between the studs. A thermographic camera can be used to assess whether the insulation is properly sealed inside the wall cavities. The heat from the insulation will show up as a red heat plume on the imaging screen.
Blown insulation can settle in certain conditions. This means that the insulation will be less effective than what you might expect. Hence, you should make sure to check for any obstructions before committing to this process. Furthermore, you should know the pros and cons of this installation and decide whether it will be best for your home.
Blown insulation is a messy process, so wearing protective gear and old clothes is essential. A blowing machine can make the job much faster if you are comfortable with the mess. Moreover, it is a good idea to protect the ceiling and avoid standing on the joists. Instead, you can set up plywood to provide a stable standing surface. Also, it is possible to complete the installation process in one day.
Blown insulation installation can be costly. Depending on the installation type, you may be looking for a professional to complete your project. There are a number of companies that specialize in this task. You should also be aware of the differences in pricing and the types of materials that are available. For example, there are different costs associated with spray foam, batt insulation, and loose-fill insulation.
A professional insulation installation company will charge $40 to $70 per hour. However, if you need to gain the necessary experience and equipment, you can do the project yourself for around $160. It will take about two days if you hire a professional. On the other hand, a DIY insulation installer can save you up to $560. You’ll also have to spend about $100 to $200 on a blower rental and $0.50 to $2.10 per square foot of insulation.
Blown insulation is the most common type of insulation. It is easy to install and offers exceptional efficiency. Installers can use a machine to blow loose-fill insulation into all types of places in the home. It is effective in filling the smallest cracks and can also provide noise insulation. It’s also less labor-intensive than many other types of insulation.
Blown insulation can be difficult to install around skylights. To ensure complete coverage, you may have to combine a blown-in insulation option with batting. It’s also a good idea to hire a professional blown-in insulation installer. A quality installer should offer a warranty on their work.
